X Stream
CREATED BY
26:54
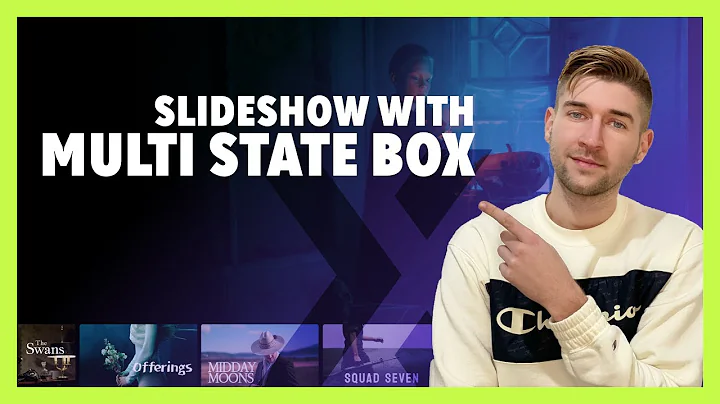
How to build a Slideshow with Multi State Box | Editor X
How to build a Slideshow with Multi-State Box | Editor X
Hello, fellow designers and no-code enthusiasts! Welcome back to another tutorial on our platform, where we provide mentoring on how to build design businesses and further your career. Today, we are going to dive into the exciting world of Editor X, a powerful design tool that offers a lot of versatility and flexibility through its features. In this tutorial, we will teach you how to work with the new Multi-State Box feature in Editor X by building a slideshow for a movie-streaming website. We'll also discuss the capabilities, tips, and tricks of working with Multi-State Box in your projects.
The Multi-State Box is a powerful new tool in the Editor X toolbox that allows you to create interactive content across various states – as the name suggests. The possibilities are almost endless when it comes to working with Multi-State Box, and you can use it to make your website more engaging and dynamic.
To get started, let's take a look at the demo website we're going to recreate together. This simple movie streaming website has a hero section with a slideshow built using Multi-State Box, which effortlessly changes states using a timer. Additionally, we have a carousel showcasing some movies and TV shows, giving us the perfect opportunity to practice using the Multi-State Box feature.
So without further ado, let's dive into the Editor X interface and get started!
Setting up the Canvas and Grid
First, let's remove the header, as we don't need it for this project. Next, we'll set up a grid for our section with two rows. The first row will contain our Multi-State Box (the slideshow), while the second row will house our movie and TV show carousel.
Before we proceed, let's change the page's background color to a dark shade, similar to our demo website. Don't forget that you can find all the needed media files – including images, logos, and other assets – in the Media Manager, as we have pre-uploaded them for you.
Building the Slideshow with Multi-State Box
1. To begin building our slideshow, let's add a Multi-State Box to the first row of our grid. Resize it to cover the entire row, and then set up the states you want to use for your slideshow – in our case, let's go with four states (one for each movie image).
2. After setting up the states, add the corresponding images for each state using the Add Image feature. Ensure that the images fit the Multi-State Box correctly by adjusting their scaling and positioning.
3. Now, we need to create transitions between our states. For this, we will use a timer. First, drag a Timer onto our canvas and set the delay suitable for your slideshow – for example, 3000ms (3 seconds).
4. Next, we'll link the Timer to our Multi-State Box using Bello. Open the "Bello" panel and add a command to "change state" for the Multi-State Box. Don't forget to set the "next" option for the loop type, so the slideshow cycles through all the states – from the first to the last and back again.
5. Finally, we must activate the timer when the page loads. To do this, add another command in the "Bello" panel: "start timer (our timer name) when page is ready." And that's it! Our slideshow is now set and ready to go.
Building the Movie and TV Show Carousel
For the movie and TV show carousel, we can use the same Multi-State Box methodology. This time, let's set up a Multi-State Box in the second row of our grid with as many states as you need for your content.
Create each state with movie or TV show images, and remember to add any text or logos you require. Then, set up a Timer for transitions between states, link it to the Multi-State Box, and activate it when the page is ready, as we did before with the slideshow.
Once you have set up your carousel and made any necessary adjustments, your movie streaming website should look just like our demo!
Congratulations, you have successfully built a slideshow and carousel using the Multi-State Box feature in Editor X. We hope this tutorial has been helpful in teaching you the basics and showing you the possibilities of working with Multi-State Box in your projects.
Don't forget to join our community at livelearning.editorx.io, where we host Monthly NoCode Design Challenges and provide mentoring on building design businesses and furthering your career. With our platform, you'll never run out of opportunities to hone your skills and make your mark in the no-code design world.
Happy designing, and we hope to see you in our next tutorial!


Join over 5,000+ people learning, helping each other to scale their freelance/design business, taking no-code challenges, collaborating, talking about their projects, and more!
Join Designers & Creatives From All Over The World!

More Like This #Tag
Brad Hussey | Freelancing As A Web Designer & Creating Online Courses That Sell (Passive Income)
Editor X TV | With Brandon Groce
1:12:35


